Set Up Your Parcel Perform Account With These 3 Easy Steps
Hurray! You’ve signed up for an account with us and taken another step to provide the best possible customer experience for your store.
We want to get you started, so we’ve compiled a simple step-by-step guide to get you quickly familiarised with our platform and how to set up the manual parcel upload options via single or multiple ID entries or our CSV function.
We also provided the option of automated integration methods If you want to use our API, look here on how to get started.
(If you’re a Shopify merchant, the setup process is even simpler. Go to our Shopify integration page and enter your shop’s URL to automatically pull all your parcel data. )
Here is how you can seamlessly integrate your data into our system.
Step 1: Add Carriers Into Your Account
To get started with Parcel Perform, the first thing you need to do is to add the list of carriers you are using to ship your parcels in the Carriers menu. Note this step comes before uploading your parcels into our system.
The easiest way to do that is to use this “ Add Carriers” button on our Dashboard or by going to Settings → Carriers on the leftmost menu.
Here you are now on the right page to get these carriers in. Click on the “Select your Carriers” button to get started.
Step 2: Configure Your Carrier References
This one is where the magic happens.
Of course, you might have different namings or indications for your carriers in the system. Not to worry, we can easily sync that. Just select the official carrier name from the dropdown list of carriers in our platform and then add your own reference that you are using in your system.
Alternatively, you can fill in more information about the carrier under Carrier Description for your own reference. With the linkage between carrier name and your carrier reference, we already have everything we need and you will never have to worry about this one.
From now onwards, all parcels will be detected automatically, unless new carriers are added. Remember to add your new carrier and it’s reference under this menu again to avoid any pending parcels in your platform.
Carrier you are using not on our list? We are continuously adding new carriers and service providers to our carrier portfolio. Simply reach out to us via our chat tool and let us know which carriers you need to be added and we’ll be more than happy to add them to our platform.
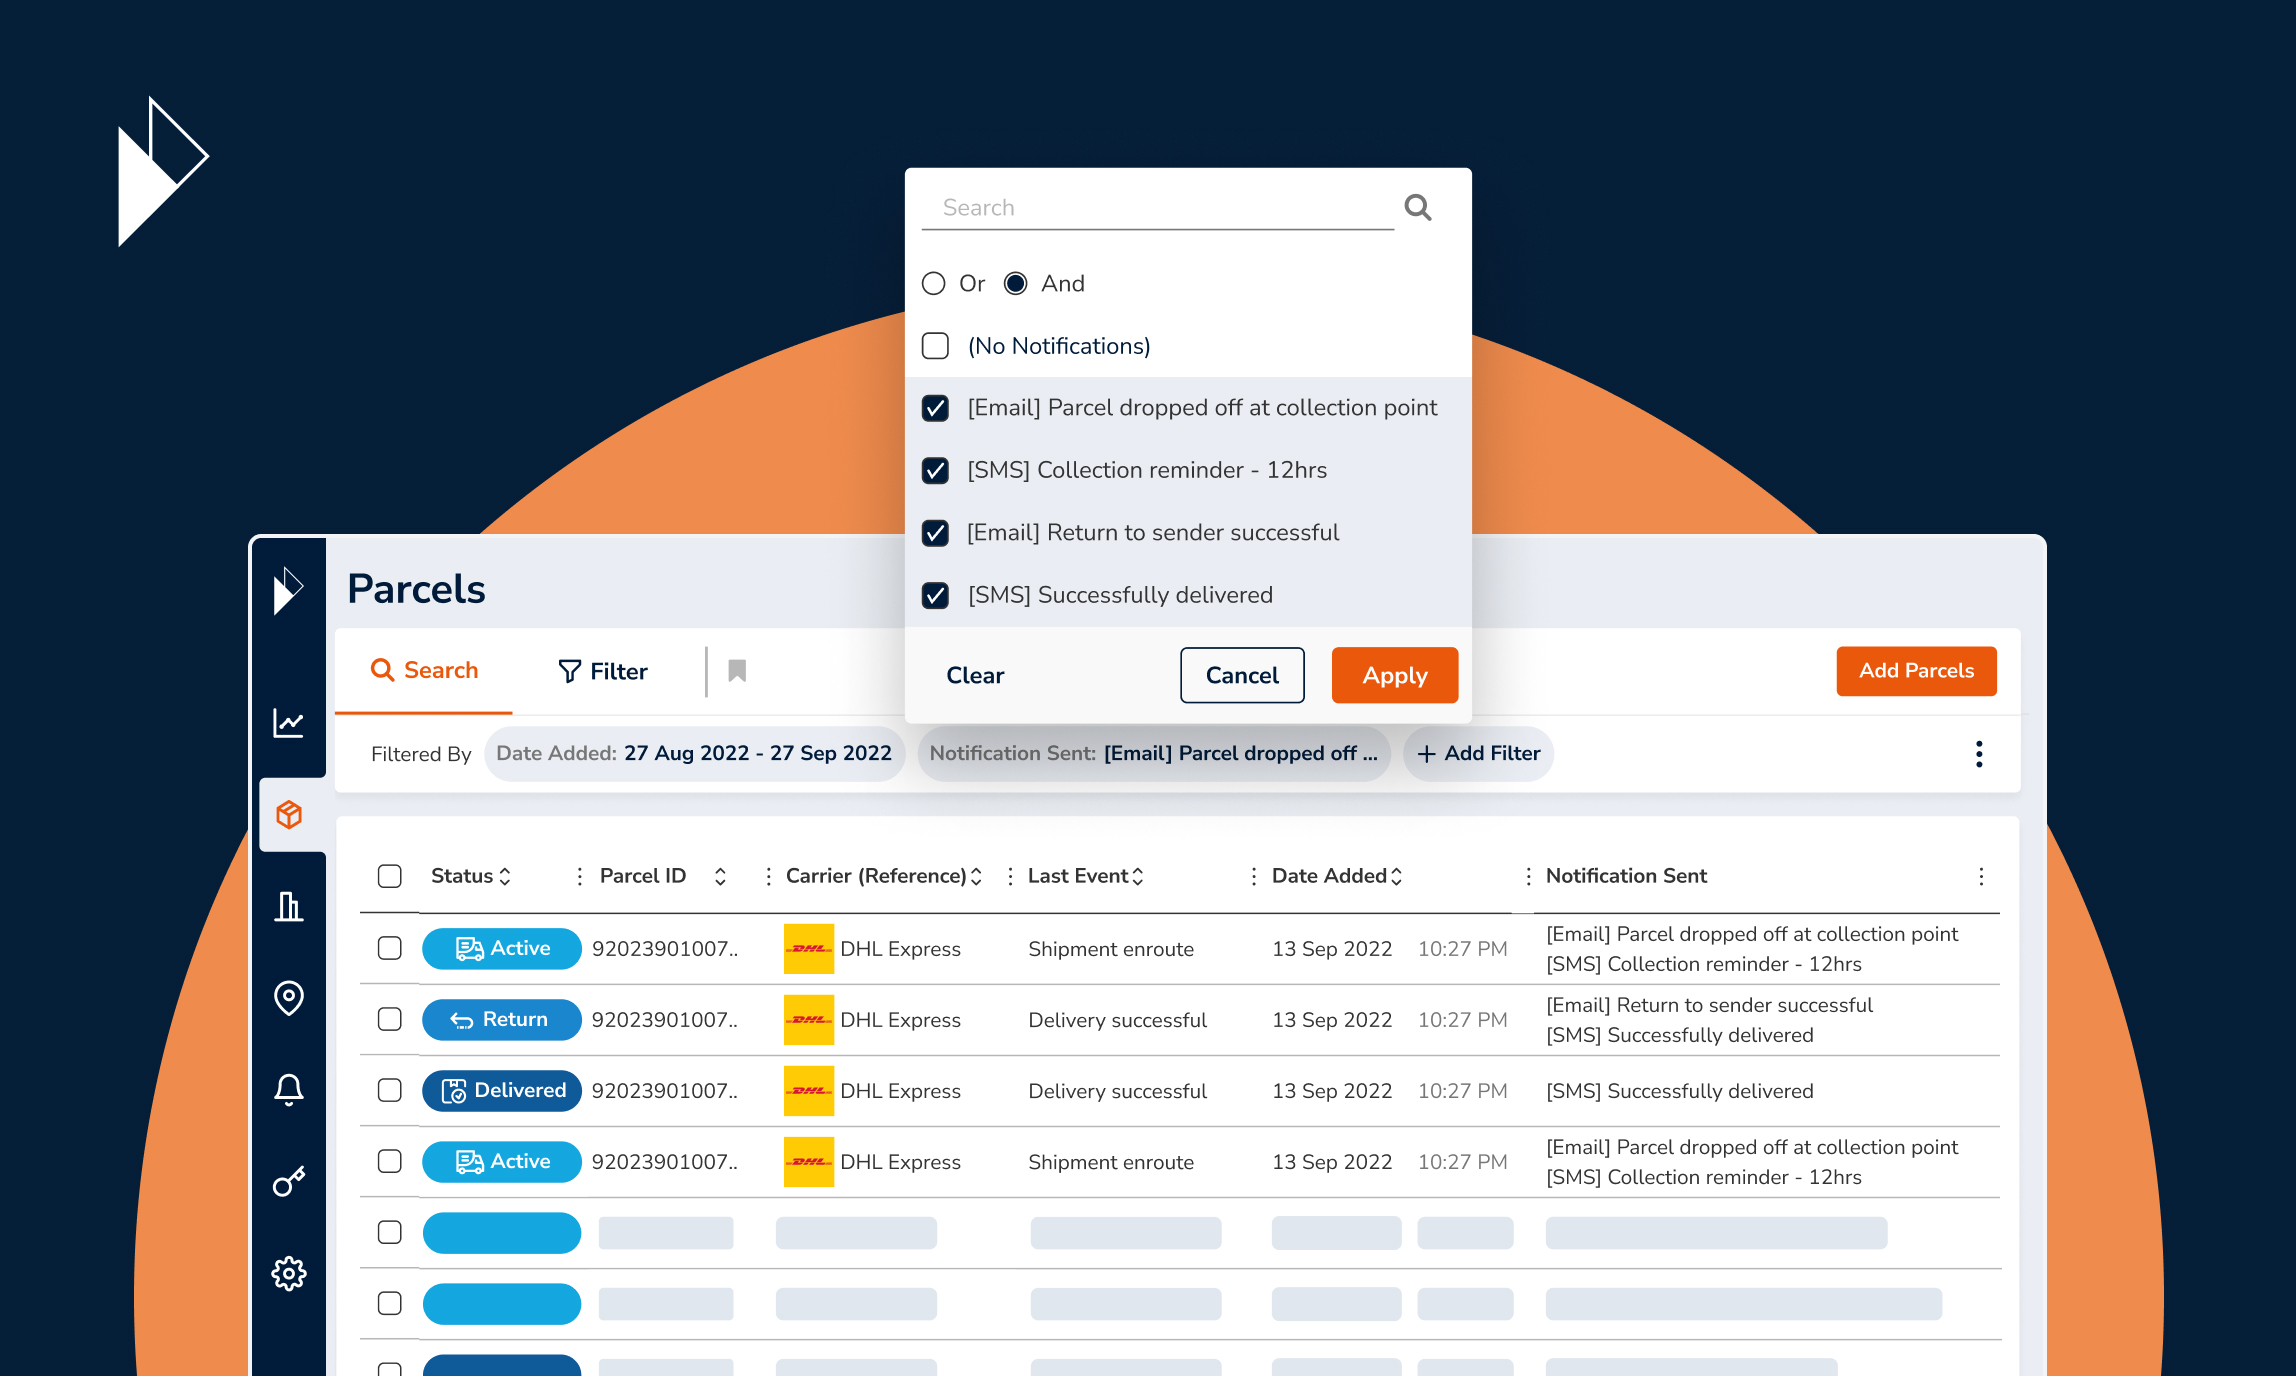
Step 3: Start Uploading Your Parcels Into Your Account.
Once you’re done with selecting your carriers, head over to Parcels to start uploading your parcels. This is of course only, if you are not already connected with Shopify. In that case, all parcels have been pulled automatically already.
In this article, we cover the manual ways of uploading your parcels - of course, there are our API gateway and the BCC function to fully automate this process.
If you want to get started manually, there are multiple intuitive and quick ways to upload your parcels in a heartbeat. Let us show you the 3 upload methods.
1. Single Parcel Upload
If you have only a few parcels you want to add or you want to quickly try us out, this might be the easiest way ever to get started. In our Single Upload screen, you can key in the Parcel ID of a single parcel and select the carrier the parcel is associated with.
Clicking Add Additional Details allows you to add more granular details like Order ID, Customer Name and Customer Email for each parcel.
Pro-tip: Did you know you can speed up this process if you have a barcode scanner? Simply check the “Add Multiple Parcels checkbox and you can initiate consecutive adding of parcels by pressing the “Enter/Return” key on their keyboard or with a barcode scanner.
A counter displays the number of parcels that have been added/scanned. You will be able to select or change the carrier to be associated to at any point of time during the process.
2. Multiple Parcel Upload
Got multiple parcels to add but you don't want to go through a CSV file? No problem.
Simply enter the parcel IDs with a single parcel ID on each line. You can also copy a list of Parcel IDs from a list to paste into the system. The Clear All button clears all entries. As simple as that!
3. CSV Upload
This one is the most powerful way to get started! You can immediately add additional information (such as order ID and customer email addresses to your parcel uploads as well). Select a CSV file for upload either by drag and drop or select a file directly from your computer.
(Remember to ensure the carrier references you configured in Steps 1 and 2 in our platform are the same in your parcel import file!)
If you want to add Parcel IDs only, you’ll need to fill in the Parcel ID and Carrier Reference fields only. If you choose Full Parcel Details, you can use as many fields available to upload your parcels and find all information later in the parcel details again.
If you need help at any point, download the CSV guide, which provides a full list of parcel fields we allow for input to help you. Otherwise, always feel free to use our chat and shoot us some questions.
Explore more automated integrations like an API gateway to upload your Parcel IDs into your Parcel Perform background
You might also like
Overcome these 6 barriers to maximize returns profits
The path to profitable returns is not an easy one. Here are several barriers that e-commerce businesses face.
Dec 14, 2023